
CREATING A TRUSS STRUCTURE FROM SCRATCH:
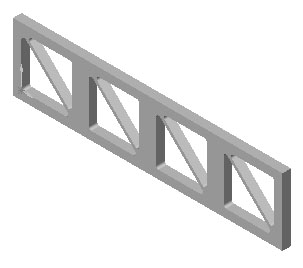 |
The purpose of this tutorial is to create a truss-like bracket from scratch. Every new part in solidworks begins with a sketch. If you notice this bracket is just a 2d shape that has been extruded to create a 3d object. So to create this part we will create a 2d sketch and extrude it. |
before you begin this tutorial make sure you have the 'sketch' , 'sketch tools' , and 'features' toolbars open. Make sure the base units are Meters. Optionally, you may want to turn on the drawing grid. Click here if you don't know how to add these options.
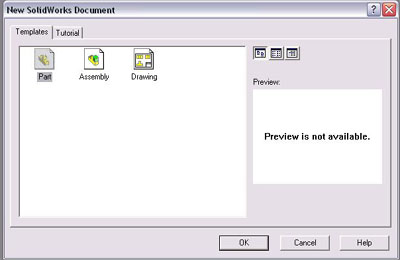
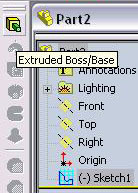
1.) Select 'File' -> 'New'' and double click 'Part':
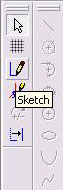
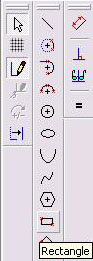
2.) On the sketch toolbar click 'Sketch' to enter sketch mode. Then click the 'Rectangle' tool:
 |
 |
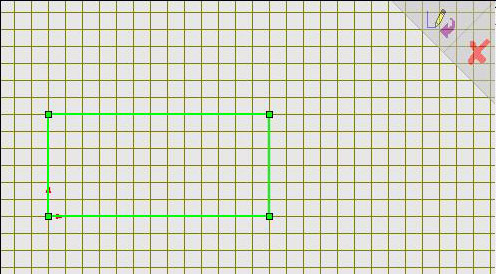
3.) Draw a rectangle starting at the origin. [click on the origin and drag the mouse to another point and click again] :
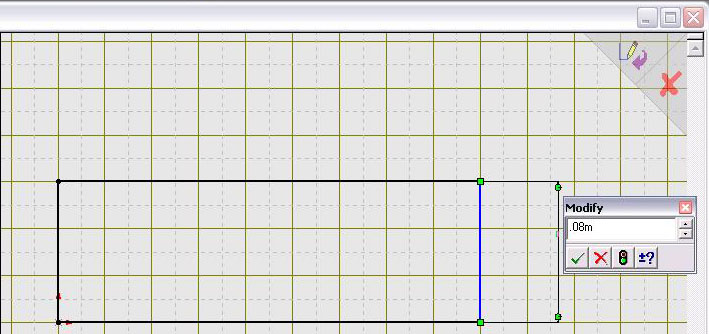
4.) Dimension the rectangle using the 'Dimension Tool' and by clicking on two edge's. Change the height to 0.08m and the length to 0.32m:
For more help on dimensioning click here
|
|
 |
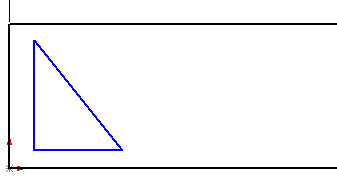
5.) Select the 'Line Tool' and draw a triangle on the part:
|
|
 |
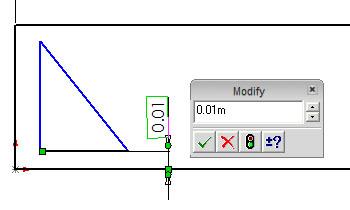
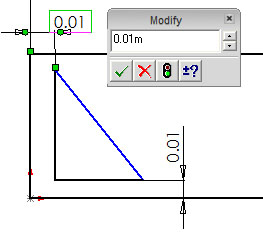
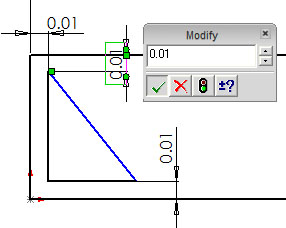
6.) In order to place the triangle exactly where you want it and make it the proper size you must use the 'Dimension Tool.' First you should line adjust the spacing around the triangle. In this example we will change the spacing to 0.01m:
For more help on dimensioning click here
|
|
 |
 |
|
 |
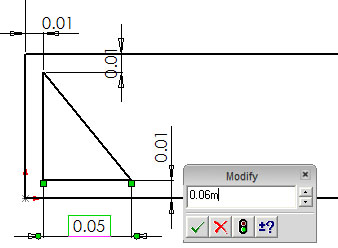
7.) Next you should adjust the length of the triangle's base. Notice the height is already defined. In this example we will the base and height are 0.06m:
|
|
 |
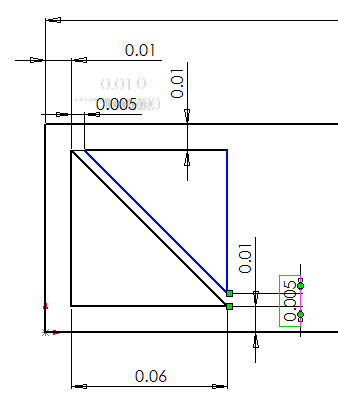
8.) Draw and dimension the upper triangle in the same way as the lower triangle. Notice the vertical and horizontal spacing between the two triangles is set to 0.005m:
 |
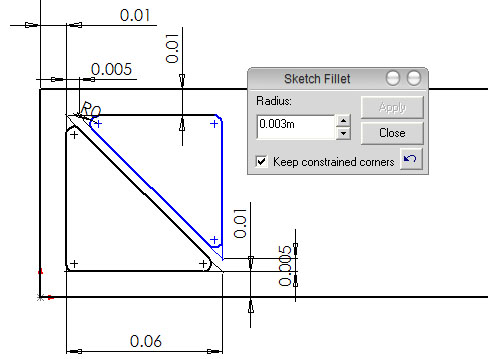
9.) The sharp corners in the triangles will lead to very high stress concentrations. Fillets are used to lower the stresses in the corners. Use a fillet radius of 0.003m on each corner. To add a fillet, click the 'Fillet Tool,' enter the fillet radius, then click the two lines that create the corner you want to fillet:
|
|
 |
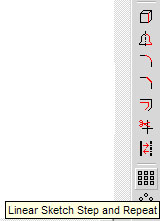
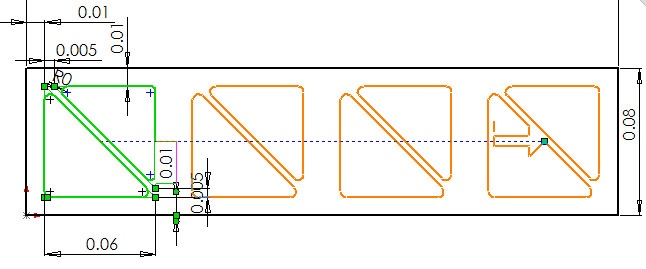
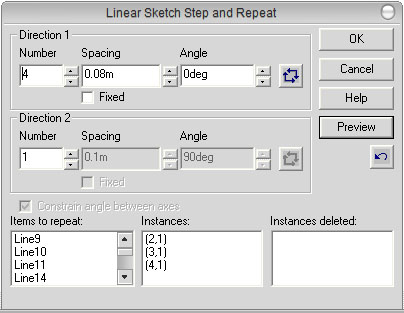
10.) Instead of drawing each triangle again, you should use the 'Linear sketch and repeat tool' to add more triangles along the length of the bracket. Using this tool is simple. First select the 2 triangles you want to repeat. Then click the button, choose the number of copies you want, and the spacing between the copies. It will dynamically preview any changes you make. In this example we have 4 triangles, with a spacing of 0.08m.:
 |
 |
 |
7.) Click the purple arrow
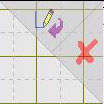 to exit sketch mode.
8.) Click the extrude button on the 'Features' toolbar and enter .01m in the d1 text box:
 |
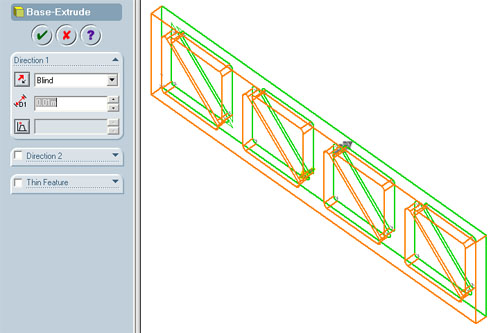 |
If you want to import this file into ANSYS for analysis, you must save it in the IGES file format. For instructions on how to do this, click here.