CREATING A SIMPLE PART FROM SCRATCH:
 |
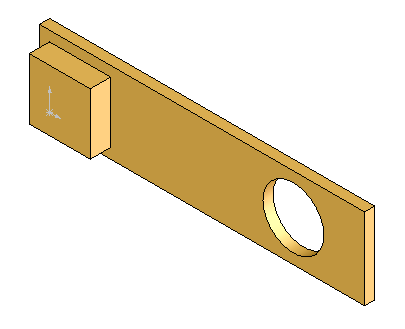
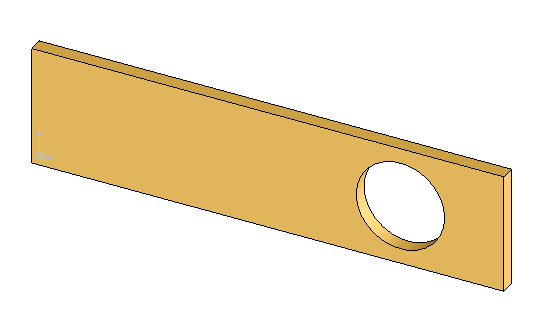
The purpose of this tutorial is to create a simple bracket from scratch. Every new part in solidworks begins with a sketch. If you notice this bracket is just a 2d shape that has been extruded to create a 3d object. So to create this part we will create a 2d sketch and extrude it. |
1.) Select 'File' -> 'New'' and double click 'Part':
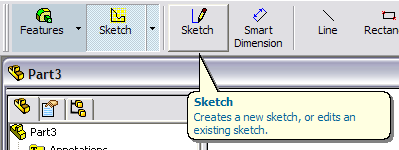
2.) On the main toolbar click 'Sketch' to enter sketch mode. Then click the 'Sketch' button to the right to enter sketch mode:
A set of planes will now appear. Select the plane labeled Front to start your sketch on that plane:

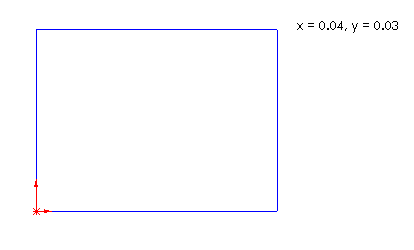
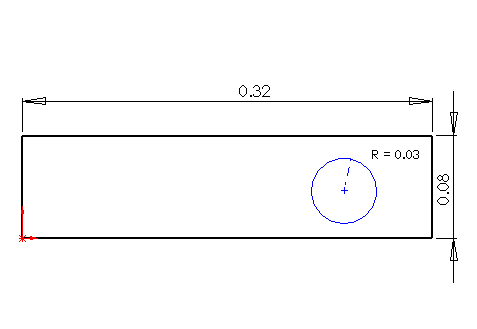
3.) Draw a rectangle starting at the origin. [click once on the origin and a second time at any arbitrary point in the 1st quadrant] :
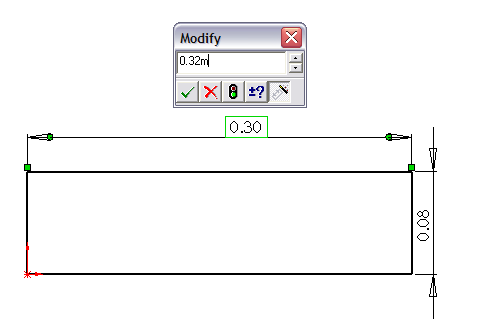
4.) Click 'Smart Dimension' on the main toolbar and then change the height to .08m and the length to .32m:
For help on dimensioning click here
5.) Now select the 'Circle Tool' and draw a circle similar to the one in the picture below:
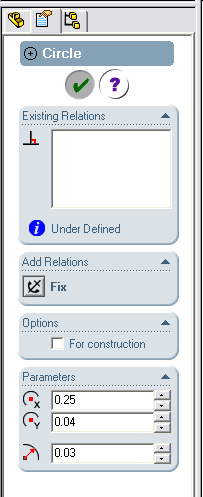
6.) Click the circumference of the circle and enter the following values into the panel on the right side of the screen:
These numbers correspond to the absolute location of the circle's midpoint, and the radius of the circle. Namely, the midpoint of the circle is located at (0.25,0.04) and its radius is 0.03m.
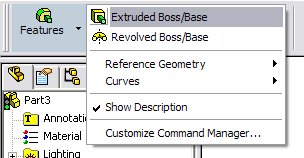
7.) Click the little arrow next to the Features button on the main toolbar to bring up the following screen. Then click 'Extruded Boss/Base':
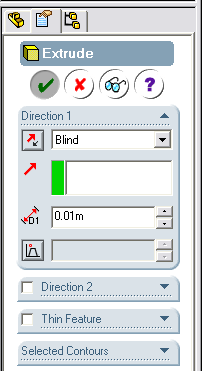
8.) In the pane that appears to the left, enter 0.01m in the box and click the green arrow:
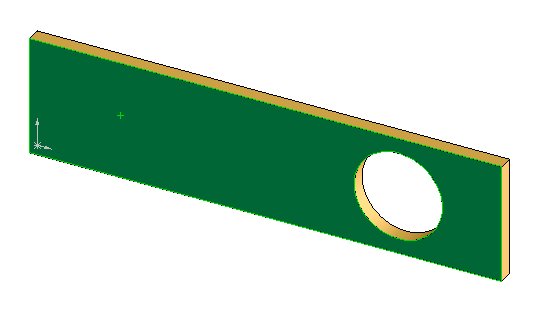
9.) Your model will now look like this:
10.) To create the boss on the surface, you need to start a new sketch on the face of the model. To do this, select the face of the model and click the 'Sketch' button on the main toolbar:
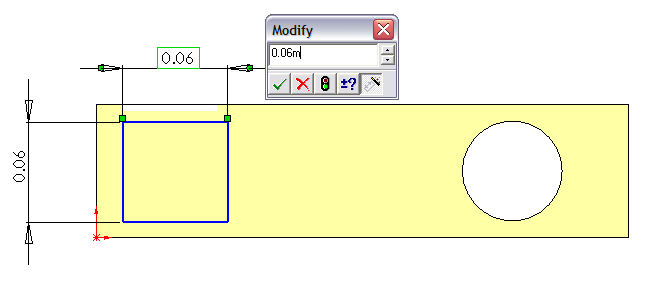
11.) Change to a front view of the model and draw a rectangle using the Rectangle button:

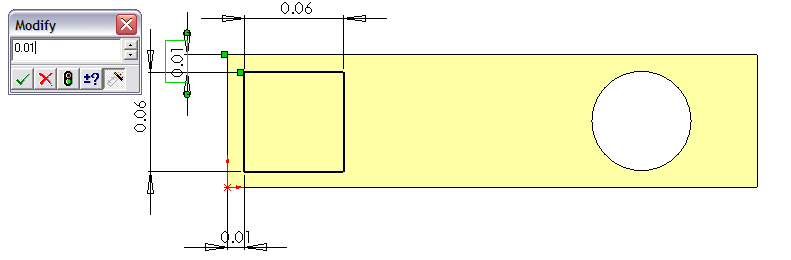
12.) Dimension the rectangle using the 'Smart Dimension' button to be 0.06 m square:
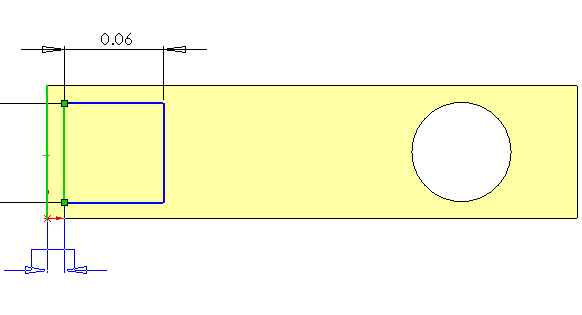
13.) To locate the rectangle in the proper place, use the 'Smart Dimension' tool and select the left edge of the boss, and the left end of the goldish rectangle underneath. Enter 0.01m as the distance:
14.) Repeat this for the gap between the top edge of the boss, and the top edge of the goldish rectangle:
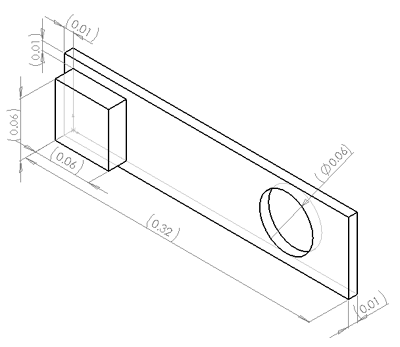
15.) Click the little arrow next to the Features button on the main toolbar to bring up the following screen. Then click 'Extruded Boss/Base':
16.) Enter 0.02m in the D1 box, click the green check mark, and you will get the following model: